Plenty of lively conversations are focused on whether it’s necessary to do a Manual J heat loss load calculation for every boiler you replace or install. There’s also been a surplus of articles written on this topic with an equal amount of opinions. This column is not about my opinion on whether you should do one; but, for the record, I’ve done one on every job going back to the early 2000s. Before that, it was about 50/50. To me, it makes sense, but you do you.
What I’d like to share with you is the fact that doing a load calculation manually isn’t difficult and the more you do, the quicker you’ll get. You’ll find ways to streamline the process and develop an easy method of operation to get it done. You’ll learn early on that one simple math mistake quickly becomes a compounding error as it affects the numbers after that. Trust me; you won’t make that mistake often because it’s a pain to correct.
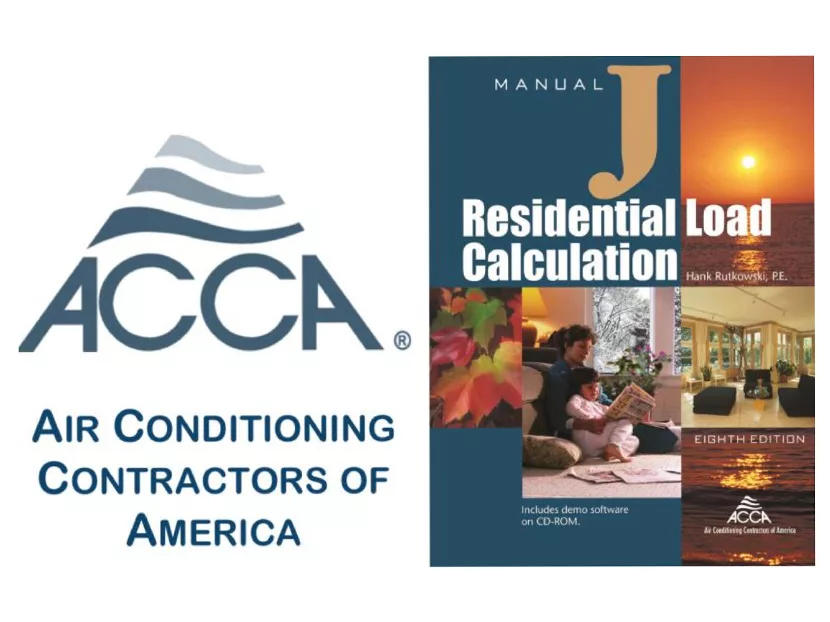
The front page of Manual J is made up of job information, design conditions, a heating summary, a cooling summary, an equipment summary and construction data. At the start, you’ll need to fill out the job information, design conditions and construction data. Design conditions, if you don’t already know yours, can be found in Table 1, Outdoor Design Conditions, on Page 51 of Manual J.
I lived in the Chicago area until a couple of months ago, so I always used -4 degrees as my outdoor design temperature. My indoor design temperature was typically 70 degrees, but it had the potential to vary if I knew enough about the residents and if they intended to keep living there.
Line-by-line explanation
The ACCA Manual J worksheet includes 19 horizontal line items and as many columns as needed for a room-by-room analysis. Of those 19 lines, you can eliminate lines 7, 14, 16, 17, 18 and 19 right off the bat for purposes of sizing a boiler. Those lines deal with heat gain; boiler guys need not be concerned with heat gain. That’s for the AC and psychometrics crowd.
Line No. 1 is as easy as it gets, so we’ll only spend two sentences on it. Name of room; you got this.
Line No. 2 is asking for running foot of exposed wall. An exposed wall is defined as any wall butting up to an unheated area, usually the outdoors. Unheated garages and knee walls also would fit the description. At this point, we’re not concerned with the area of the wall, just the length of it.
Line No. 3 is simply the room dimensions in length and width.
Line No. 4 asks for the ceiling height of each room.
Everything we’ve done so far is relatively easy, but we also need to be sure those numbers are accurate because it will come back to haunt us a few lines down if they’re not. Between Lines 4 and 5, the headings for each column change. Type of exposure, construction number, heating HTM (heat transfer multiplier), area and heating BTU/h are some new terms we need to get familiar with.
Type of exposure is straightforward. Exposed walls, windows, doors, ceilings and floors are the surfaces that account for the building’s heat loss. Each type of exposure within your building will be assigned a construction number, which is an alpha-numeric designation that can be found in Table 2, Heat Transfer Multipliers (Heating), starting on page 65. It is based on the type of construction of the window, door, wall, ceiling or floor.
For instance, if a particular window is wood-framed, double-pane with low E glass, and your design delta T is 80 degrees, you would go to Table 2, No. 3D. Where that line intersects 80 degrees winter temperature difference is your heat transfer multiplier. In this case, it’s HTM 28.9; we will find out how to use that shortly.
Line No. 5 requires us to provide the gross exposed walls and partitions. For this, we multiply the running foot exposed wall number found on Line 2 by the ceiling height located on Line 4.
Line 2 x Line 4 = Line 5
*Any shaded block on the Manual J Worksheet remains blank, as is.
Line No. 6 deals exclusively with the heat loss of windows and glass doors. It’s exactly as I described previously, with two additional steps. On Line 6a, under the column Const. No., we write 3D as our reference. On that same line, under the column HTM Heating, we write 28.9. Staying on the same line, we move over to the first room column under Area. Let’s say the square footage of the windows in that room is 70. Are we good so far? Now, we take the HTM of 28.9 and multiply it by the area of the glass, 70.
28.9 x 70 = 2023 BTU/h loss for those specific windows.
Line No. 8 is essentially the same as Line Number 6, except it only deals with doors that aren’t glass. Easy enough, right?
Line No. 9 is for net exposed walls and partitions. The first step here is to go back to Table 2 for the construction number and heating HTM and post those numbers in the appropriate columns. Our walls, in this case, are 10-inch masonry with no insulation and unfinished. This is not as atypical as it seems. It’s relatively common in above-grade basement walls.
The construction number would 14A, while the HTM for an 80 degree delta T would be a whopping 40.8. The square footage of this exposed basement wall is 281. Now we do the math just like in previous steps.
40.8 x 281 = 11,465 BTU/h loss through this wall.
To this point, we’ve ignored Line 7 because it deals only with heat gain. We’ve completed the other eight steps based on the information we’ve gathered from the jobsite or a blueprint. We know the information is reliable because we were precise in compiling it.
It’s also important to note that Manual J is very specific on how these measurements of doors and windows are taken. They provide detailed information and plenty of sketches to drive home the point, so be sure to pick up a copy.
Line Nos. 10 and 11 are for ceilings and floors, respectively, and are to be completed using the same methods used in Lines 6 and 8.
Line No. 12 is where things tend to get a little tricky. Heat loss due to infiltration is almost always an estimate and at best, using a blower door test is still like trying to hit a moving target. Pressures inside and outside the envelope are part and parcel to the equation when determining infiltration; both are rarely steady. For the sake of this conversation, I’m going to use the estimated method used in Manual J, which makes some assumptions outlined in Appendix A-5.
Looking at Table 5, you’ll see that we were given some ACH values based on the building size and the quality of construction. Once you determine the ACH, you plug the number into the first equation, do the math, and arrive at the CFM. Then, plug the CFM into the next equation; the answer to that will give you BTU/h. Plug that answer into the last equation, which will provide you with the elusive HTM for the window(s) and door(s) infiltration.
As you can see in Figure 3.3, Lines 6a, 6b, 6c and 8 are added together to give us a total of 222 square feet, which is then multiplied by the HTM of 70.6, resulting in a total heat loss of 15,673 BTU/h for windows and doors. And that same procedure is used along Line 12 for room-by-room heat loss due to infiltration.
Think of this as a reference or quick summary of ACCA’s Manual J residential load calculations. The book is about 125 pages, 75 of which are tables and appendices you’ll need to reference to complete the work. After doing a year’s worth of heat loss load calculations, those 75 pages of pulp nonfiction will be well worn, and you will have taken another giant step in distancing yourself from the competition.
Load calculations done via software are easier and quicker. You can easily manipulate numbers, which then change the values down the line accordingly, but I think it’s important to understand what these numbers represent and where they come from. Software also can generate detailed reports, graphs, charts and even material lists. I still do it both ways. I like to compare results when the same information is being used. I’ve always been the curious sort.