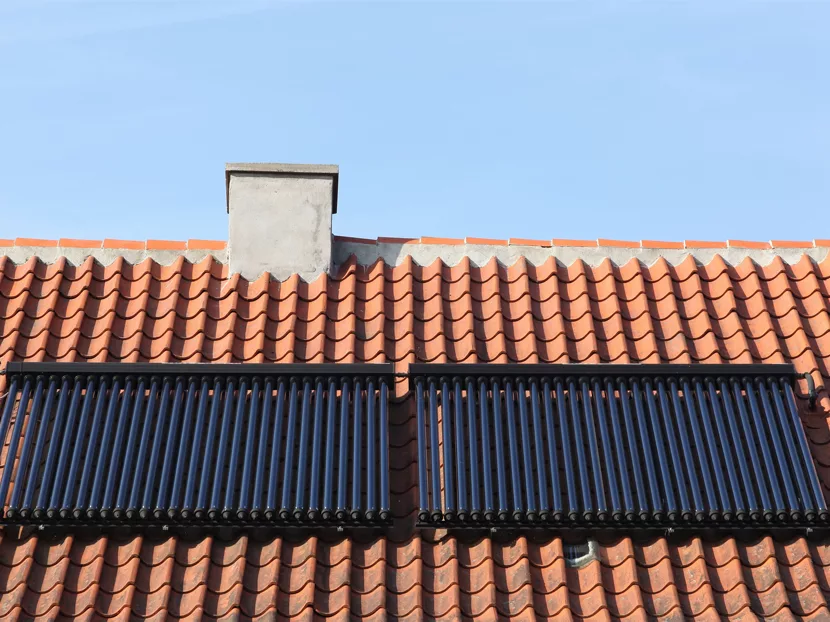
Hydronic heating systems must be filled with water to provide the heat transfer fluid (HTF) that makes them work. In the case of the closed-loop solar heating system, the HTF is typically a mixture of water and propylene glycol. The process of filling the plumbing system with this antifreeze while purging all the air out must be done systematically and in the right order. This is known as “charging” the system.
The object is to permanently fill the solar collectors and the entire plumbing loop with pressurized liquid while eliminating every last air bubble and to keep the liquid in and the air out for years to come. A tremendous amount of service time can be wasted trying to fill and purge a plumbing system that is not configured properly or when proper procedures are overlooked.
This is a brief description of the charging process and some recommendations to make this critical process go smoothly.
Installing the Right Components
Condition: A closed-loop solar glycol collector system has been designed, a piping diagram is complete and the installation is underway. Figure 72-1 shows an example system.
Recommended procedures: As the plumbing components are assembled, there must always be an ongoing reality-check to make sure that the as-built plumbing does not somehow prevent or disable the process of filling and purging. The right components must be installed in the right locations to make the proper charging process possible.
Install a fill and purge valve assembly, typically near the main solar glycol circulator pump and often low in the solar plumbing loop.
Make sure the fill valve feeds the bottom of the solar collectors so that liquid entering the fill valve will push any air in the system up to the top of the solar plumbing loop. The purge valve provides a path for fluid to return from the top of the solar collectors back to the mechanical room. A bypass valve must be provided between the fill and purge ports to separate the supply from the return during the charging process.
Install an air vent at any point in the glycol loop where air can be trapped, even if it is not on the original piping plan — typically at any high spot where flow in the pipe is diverted from horizontal to downward flow.
Use a float vent anywhere access to a manual air vent is difficult.
Mount every float vent and each expansion tank on a ball valve so they can be shut off and replaced quickly.
Use the proper pressure relief (PR) valves in the solar glycol loop with the right pressure rating and no temperature probe. Install a metal blow-off tube from the PR valve into a metal collection tank.
Make sure diaphragm expansion tanks, air vents and all other components exposed to high-temperature glycol are rated for these extremes.
Tighten all threaded unions carefully using two wrenches and the proper gaskets, if required. Use the right pipe dope on mating surfaces, pipe threads and gaskets.
Before the Filling Begins
Condition: The plumbing is complete and all the components are in place according to the original design diagram. Any as-built modifications have been verified to be compatible with the original plan and will not hamper the filling and purging process. There must be zero-tolerance for leaks since the HTF and the captive air in the expansion tank must remain in this closed loop for many years to come.
Recommended procedures: The following steps are recommended before charging the system with glycol mixture.
Pressure-test the solar plumbing loop with compressed air to twice the normal operating pressure. Use the ball valves on float vents and expansion tanks to seal off these components during the test. Use the same hose bib boiler drains and hoses for the air compressor connections as used for the filling and purging pump procedure (described below).
Some installers pressure-test with water before draining and refilling with glycol mixture. Never do this procedure as winter approaches if there is any chance of an overnight freeze. Use an air compressor to systematically blow the water out of the glycol loop if there is any chance of freezing before the final glycol charge is installed.
Do not assume that the diaphragm expansion tank is set to the correct air pressure. Test the air pressure in each expansion tank with an air pressure gauge, but only when the glycol loop is empty and the liquid-side of the tank is at zero pressure. Adjust the air pressure in the glycol expansion tank to be slightly lower than the normal operating pressure of the liquid (e.g., 15 psi air for 20 psi liquid).
Use gas leak detection soap to look for air bubbles on the air valve of the expansion tanks and also on any possible leaky unions or fittings during the air pressure test on the main plumbing loop.
Charging with Glycol: Fill and Purge
Condition: The solar glycol piping and all plumbing components have passed a methodical pressure test. The expansion tanks and other components have passed their tests as well.
Recommended procedures: A utility pump and three high-temperature flexible hoses are required to connect to the fill and purge ports. This pump must be capable of lifting the glycol mixture from the mechanical room up to the top of the solar collectors. Pumps are commonly used for this purpose with output pressure ratings of 30 to 60 psi.
High-temperature laundry machine connection hoses are commonly used to attach to the hose bib boiler drains in the plumbing and to hose bib threaded adapters on the pump itself. (Also, charge-pump kits are available from solar heating suppliers such as Resol and Caleffi.)
Do not jury-rig the charge pump hoses or threaded connections, as the procedure requires precise control over the charge pump and the pump connections to provide the proper flow and pressure while removing the air. Use only proper hoses and fittings with good gaskets and nothing that will melt, sag or clog at high temperatures. Hoses must be full-flow with no flow restriction built-in.
Solar collector covers are sometimes used to control the temperature of the process so the installer does not have to deal with scalding hot solar fluid on clear sunny days. Some installers may wait until a cloudy day or may fill and purge very early or very late in the day to avoid high solar temperatures.
However, using the proper pump, hoses and other equipment and precautions, the procedure can usually be accomplished even on clear sunny days with very hot fluid.
Make sure that any isolation valves next to air vents, expansion tanks or circulators are all open so all the solar plumbing components can operate normally and fill with liquid.
First, clear the air out of the pump and hoses. Connect the pump with two hoses; a suction hose with a screened end at the bottom of a bucket of glycol mixture, and the supply hose connected to the outlet port of the pump. Before connecting the supply hose to the fill port on the solar plumbing loop, aim it back into the bucket and run the pump.
Do whatever is needed to prime the pump and run it until it is pumping glycol out of the bottom of the bucket and back into the top of the bucket with plenty of flow and no air trapped in the pump or the hoses.
A ball valve on the outlet adapter on the pump is ideal for shutting off the flow through the pump/hoses when the pump is now turned off. (Some installers briefly crimp the supply hose instead of using a valve.) Connect the supply hose (now full of liquid) to the fill port without letting air back into the pump or the supply hose.
The pump is now ready to deliver glycol liquid (not air) into the fill port once the hose connections are secure. The third hose is connected from the purge port and this allows fluid to return into the bucket after circulating around the solar plumbing loop.
Close the bypass valve between the fill and purge port, open those two ports and run the charge pump with its valves open. Glycol is now pumped out of the bucket, filling the solar collectors from the bottom to the top. Air in the collectors and the pipe is pushed out the purge hose back into the top of the bucket by the charge pump.
At first, air returns into the bucket and then glycol mixture with air and foam, which can be very hot. Then, after a few minutes, only clear glycol returns into the bucket, proving that the solar loop is now full of liquid.
The purge valve can be closed and the remaining glycol mixture in the bucket continues to be pumped into the solar closed-loop. This pushes liquid from the bucket into the expansion tank. When the pressure gauge on the solar loop shows a normal operational pressure (e.g., 25 psi) the system is charged and the fill valve is closed and the charge pump is shut off.
During this step, the bypass valve must be opened and the solar circulator must be put into normal operation so the collectors can be cooled by normal fluid flow.


